How to Send Emails from Salesforce
One of my favorite features of Salesforce is the ability to create and send email templates. I most commonly use this to send out touch emails to prospects and clients. Every sales person I know wants the ability to easily keep in touch with their prospects and clients who may not be in “buy” mode at the present moment. But every sales person I know also enjoys spending their time in the bottom of their sales funnel and working on getting contracts signed.
The Salesforce email template feature consistently peaks the interest of sales people and sales managers when we help them with their Salesforce integrations. We can see the wheels spinning in their heads on how they can start utilizing this feature. Whether its sending out touch emails or improving effectiveness in their business processes users of Salesforce have much potential with this features. Here are a few examples:
- Touch Emails
- Birthday Emails
- Sending an NDA
- Marketing Emails
- Cold Call Introductions
- Process Oriented Emails
- Product or Service Updates
- Upselling another Product and Service
There are 4 types of formats you are able to send: HTML, Text, Custom and Visualforce. Each of these formats have a specific feature which make them better in some situations than others. For example, if I want to send out an email marketing announcement I would send an HTML email whereas for an email that is a cold call introduction I would use text so my email looks like it is coming from my Outlook client.
For the purpose of this blog post I will show you how to create a text email template which is commonly used in sales-related emails.
Where to find the Email Template feature
From the Upper-right hand of Salesforce mouse-over your name and click My Settings
On the left click Email to expand the menu
Setup Your Email Template
Now is the time to setup as many email templates you wish. For the purpose of this example I will create an email template that shares a recent whitepaper I just read and would like to share with others.
**Important Note**Before I show you how to create a template I’d like to make one important note – I like my templates organized in folders. This just makes things so much cleaner and easier to find. I highly recommend this.
Now, onto setting up an email template
1. Click “New Template”
2. Select “Text” and click NEXT
I’ll pause here and explain a few things you will see in Salesforce’s step 2. First, the Available Merge Fields. The biggest benefit of the Salesforce email feature is the ability to add custom data values directly from Salesforce. This is the area that gives you the variables you need to copy/paste into an email. In this example I will be including the contacts first name.
3. Fill out each of the appropriate fields that you would like included in this template. You can view this screen shot as an example.
4. Click Next
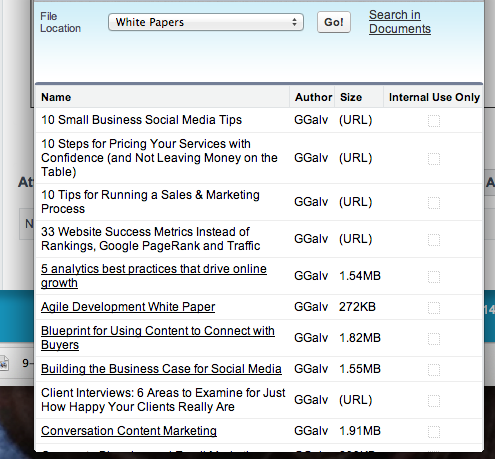
5. (Optional) Attach a File
Now you can Attach the whitepaper to the template so it comes across as an attachment to the recipient. In order to attach a file that file must be located in the Salesforce documents tab. So if you have not done so yet I recommend opening another tab in your browser and add the file to the Documents object.
You have now created your email template. Next, we’ll cover how you can send it to a contact.
Sending an Email to a Contact
1. Go the individual’s contact record in Salesforce
2. Go the the HTML Email Status section
3. Click Send Email
4. Click Select Template
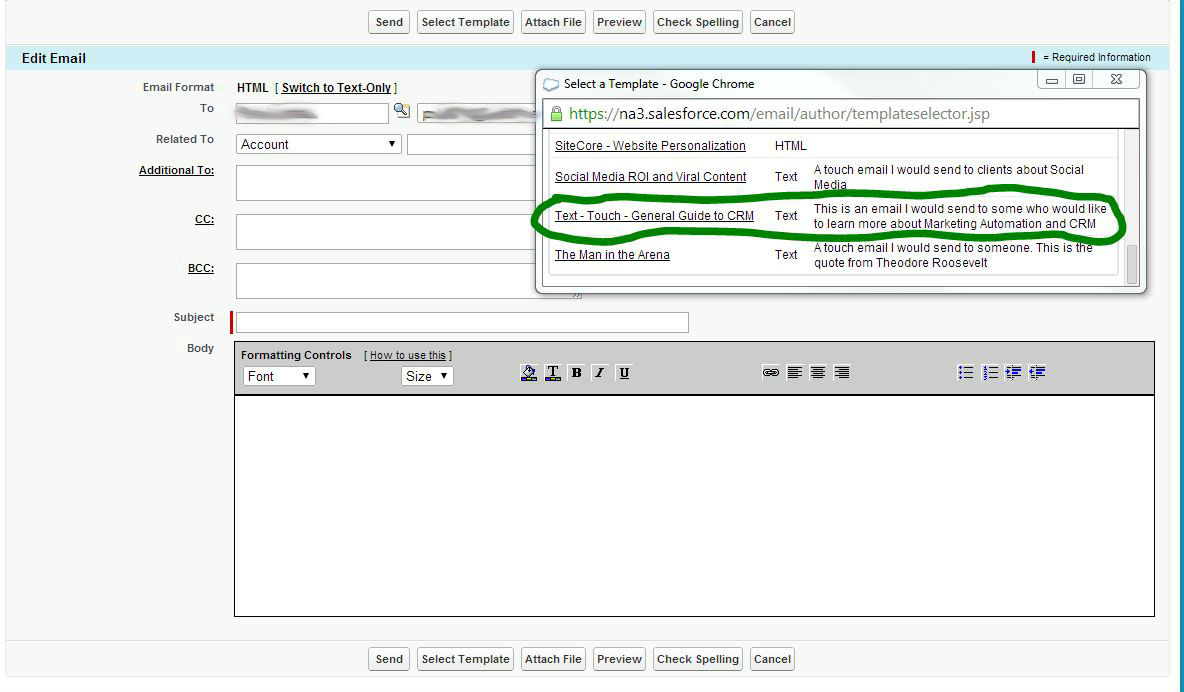
5. Select the template you just created
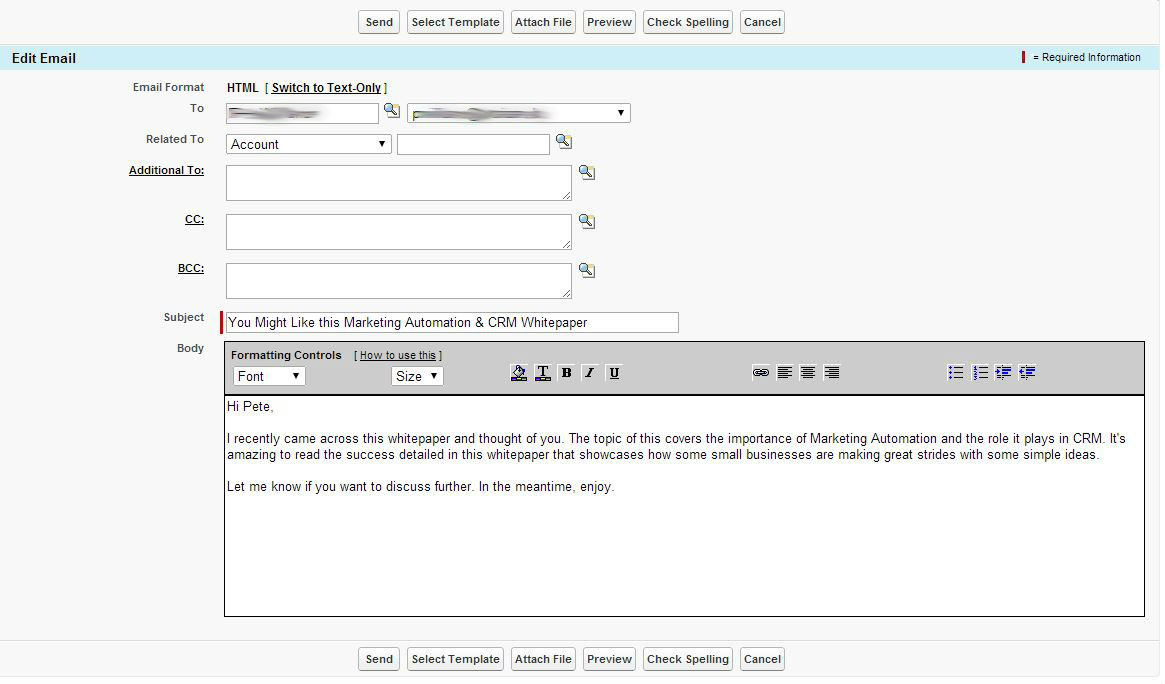
6. Preview the email and send it
There you go! You just created and sent an email to an individual contact
Did They Open It?
Now that you sent it wouldn’t it be nice to know if they are engaged with the email and whether or not they opened it?
- Go to the contact record you just sent an email to
- Go the the HTML Email Status section
- You will see a line item of the most recent email and a column called # of Times Opened
This is valuable data because it will show you how engaged a contact is with the email you just sent. Other valuable data columns in this section are the Date Opened and Last Opened. You can then run custom reports off these columns to see who is engaging with your emails each day. Because although you may have sent the email on a Tuesday it may not have been opened until Friday – wouldn’t that be nice to know?
In my next upcoming blog I will show how to send a mass email to a group of contacts.