
Making The Switch: How To Migrate From Salesforce Classic To Lightning (Part 3)
After months of evaluating and preparing, the moment has finally arrived: it’s time to migrate to Salesforce Lightning! Teams are the right amount of excited and you are ready to roll. However, there are just a few action items to address in your migration strategy — if you haven’t already — before making the switch.
Phase 3: Migrate
Before the switch
During the planning stages of Phase 2, a roadmap was created to outline what work needs to be completed, how long the work will take to complete, and who will be involved with completing said work. For many organizations, a large chunk of the roadmap will be dedicated to what happens right before migration — something we like to call the pre-flipping-the-switch stage. This process is unique to every organization and depends on their migration strategy.
However, regardless of the process or strategy in place, we recommend that every organization add the following action items to their roadmap to ensure a smooth and steady transition from Classic to Lightning: set up a sandbox environment for testing, close feature and functionality gaps, and create a rollback plan in case of a failed migration.
Set up a sandbox
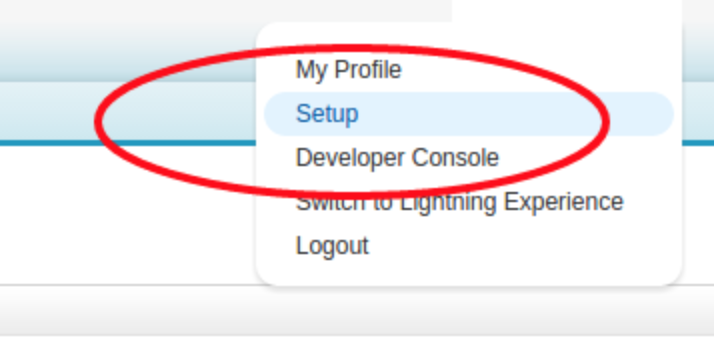
If you haven’t already set up an environment running Salesforce Lightning, then make it a priority. You want to recreate the current state of your organization’s Salesforce environment as much as possible to confirm it works with the Lightning Experience.
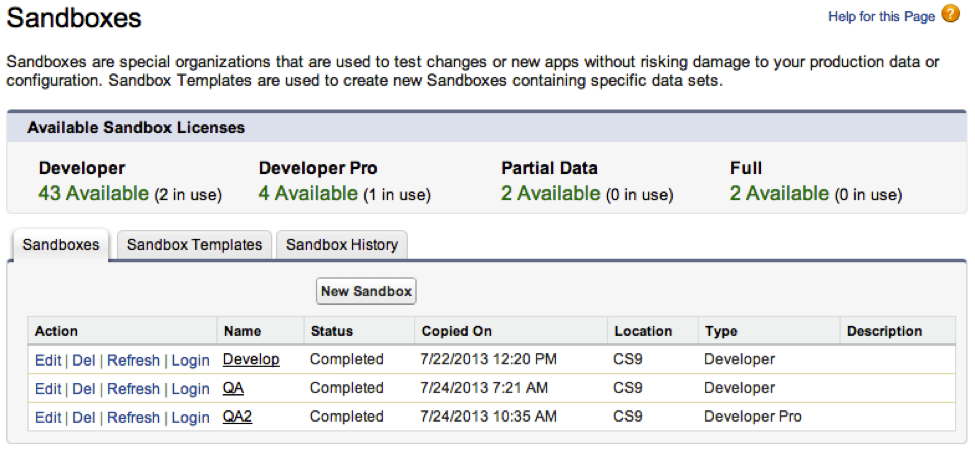
Set up and manage sandboxes via the Setup Homepage. (Source)
By setting up a sandbox environment, you can thoroughly test existing processes, configurations, and data without affecting your organization’s current Salesforce environment. Likewise, you can catch issues and bugs before the inevitable switch, helping to reduce the number of fires and freeing up resources to run more training sessions. And speaking of training — this is a perfect opportunity invite users to the sandbox environment and allow them to familiarise themselves with Lightning!
Although you may have taken Lightning for several test drives and piloted it in front of many groups, it still needs a comprehensive run-through to make sure everything is accounted for and is working as expected. Remember all that documentation created in Phase 2? Well, that’s going to come in handy and help you test the full functionality of Salesforce Lightning.
As you dive into Lightning and test your sandbox environment, you may discover missing features, broken functionality, or unhealthy data. Although the gap analysis, Lightning Experience Readiness Report, and Data.com Assessment should have revealed these issues, but don’t fret if you uncover new ones while testing — it’s better to reveal these issues now rather than later. Simply prioritize these as action items on the roadmap to help teams understand what’s needed to close the gap from Salesforce Classic to Salesforce Lightning.
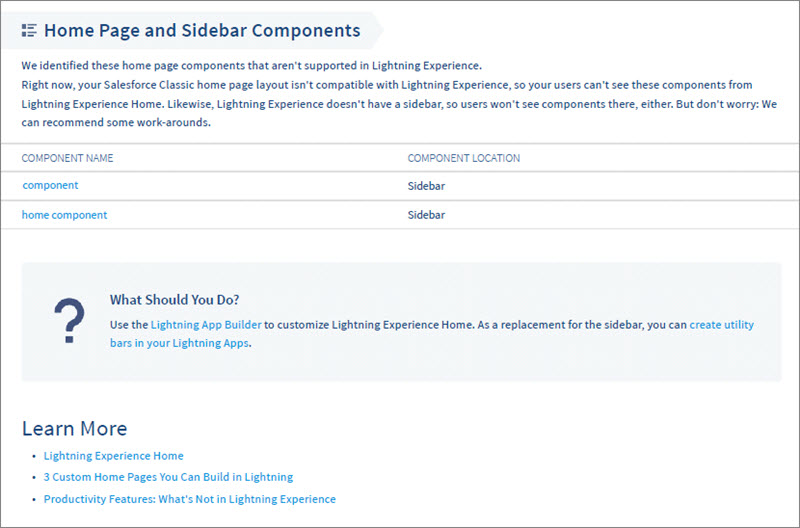
Lightning Experience Readiness Report reveals issues before migration. (Source)
Close the gaps
The goal of setting up a sandbox environment is to not only complete thorough testing and resolve issues before migration, but to close any noticeable gaps between the Classic and Lightning experience. To do so, you want to eliminate as many differences as possible, which may mean tapping your development resources to:
- Build custom solutions or workarounds for missing features or functionality
- Activate features not previously utilized or available in Classic
- Update configurations (including custom code, objects, fields, tabs, settings, business rules, etc.)
- Install new third-party apps and remove old ones not ready for Lightning
- Cleanse data and create a data quality standards
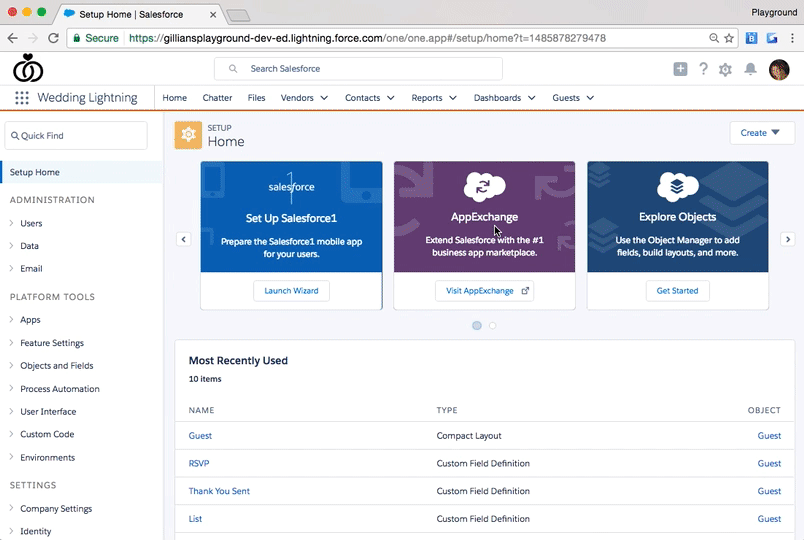
Explore Lightning Ready apps via AppExchange. (Source)
At this point, these items should be of no surprise — most should have been discovered, prioritized, and added to the roadmap during Phase 2. However, as new issues or items are discovered during testing, be sure to adjust the roadmap accordingly. Likewise, keep leadership aware of any changes to scope, schedule, and cost.
Once you can confirm that the sandbox environment fully supports your organization’s workflows, processes, and goals entirely in Salesforce Lightning, then it’s finally time to flip the switch! But before you do so, though, there’s just one question: do you have a rollback plan ready?
Create a rollback plan
If things don’t go according to plan and the migration to Salesforce Lightning fails, then what happens? Do you stick with the switch and dedicate more resources to resolve the failure quickly? Or do you reverse the rollout, deciding instead to do some more testing in the sandbox environment?
Whatever you decide to do, do not wait until the day migration fails to figure out it out! Instead, create a rollback plan that addresses exactly what should be done in the event of a failed migration. Likewise, do not wait to share the rollback plan until migration fails. Instead, be proactive and communicate the plan to teams before rolling out Lightning to the first group of users. This way, you set expectations and keep everyone properly informed of possible outcomes.
Without a rollback plan, you risk making a costly mistake that — at best — could prevent someone from using the latest and greatest Lightning experience and — at worst — could shut down your organization’s access to Salesforce entirely. We repeat: do not wait to create a rollback plan!
During migration
All the research, planning, and testing has been leading up to this moment. What happens now?
Go live
If you’re taking the phased approach to rollout, start activating Lightning to your first group of users. You can do this by adding the Lightning Experience User permission set to selected user profiles. Please note that you must be a Salesforce Administrator to complete the following steps:
Step 2: Select Setup from dropdown under name
1. Navigate to Salesforce homepage
2. Under name in top-right, select Setup from dropdown
3. Click the Lighting Experience link in the left column under search
4. Click Permission Sets link in left column under Administration Setup section
5. Create a new permission set
6. Enter “Lightning Experience User” as the Label (the API Name will automatically fill after entering)
7. Scroll down and click System Permissions link under System section
8. Click Edit button
9. Select the Lightning Experience User checkbox

Step 9: Select Setup from dropdown under name
10. Click Save button
11. Click Manage Assignments button
12. Click Add Assignments button
13. Select users to add
14. Click Assign button
15. Confirm selected users can experience Lightning
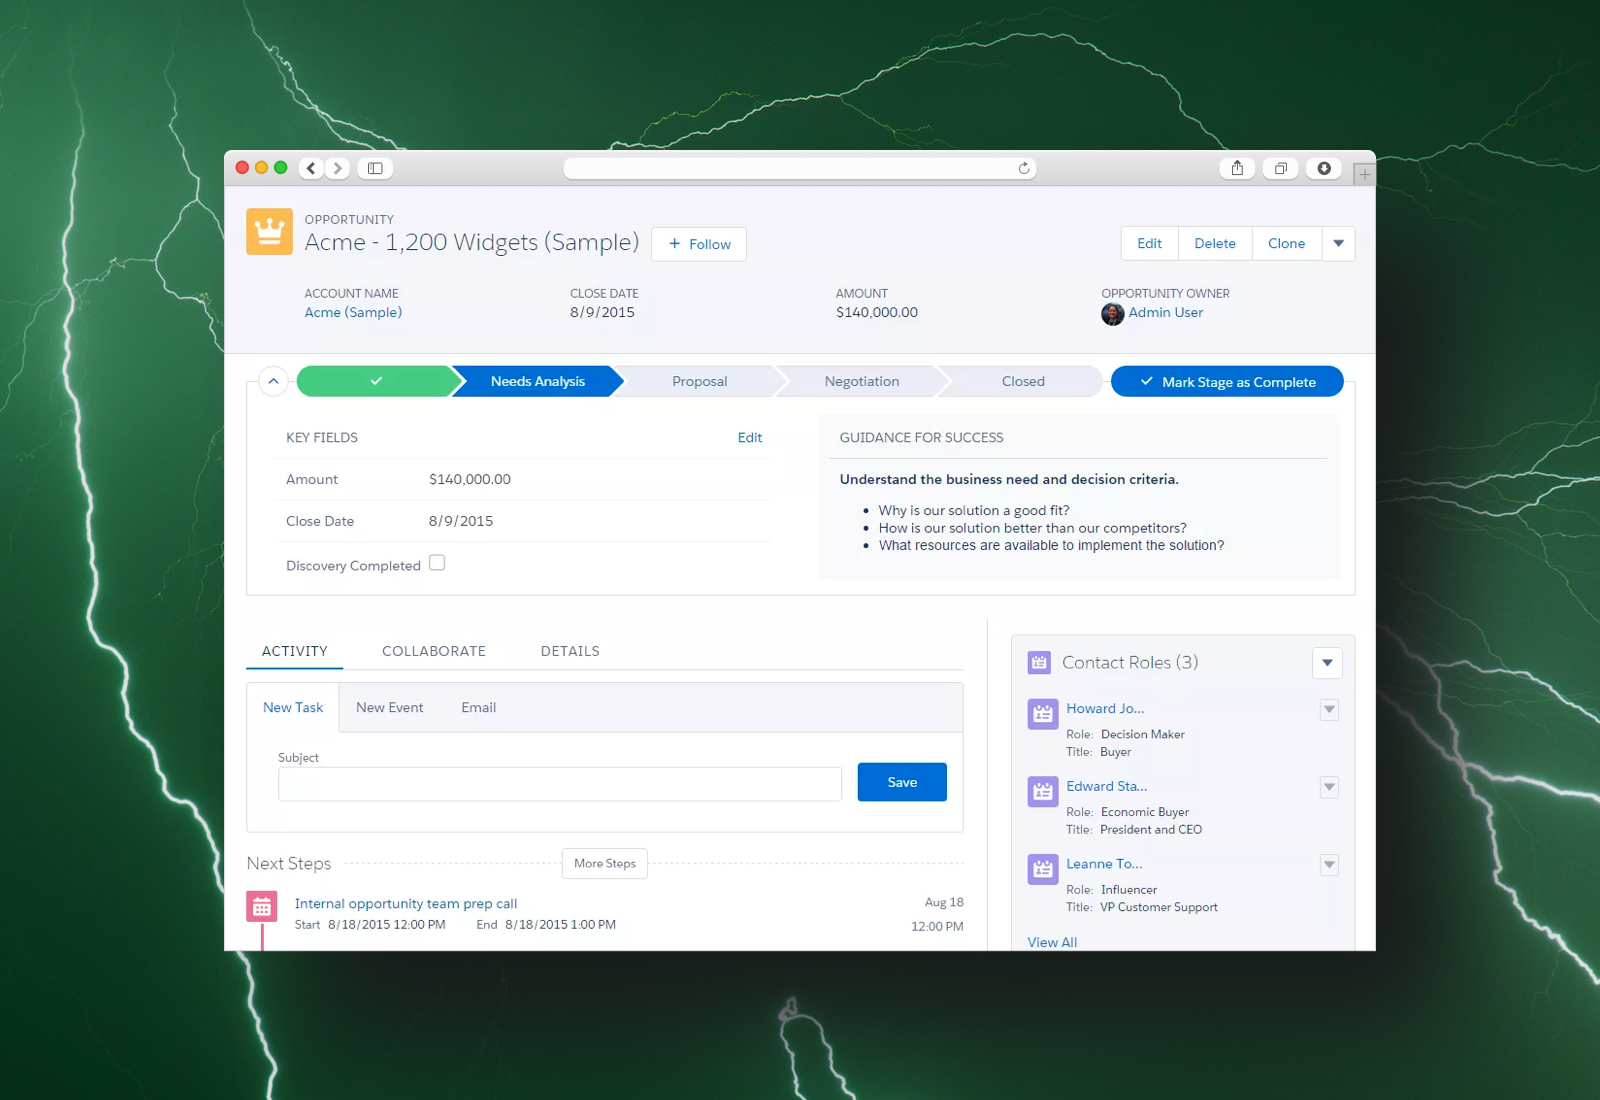
Success! User should be able to experience Lightning. (Source)
As soon as you roll out Lightning to the first group of users, also roll out your post-migration support and training plans. That way, there’s no delay helping teams transition to the new experience.
Set up and configure
If you flipped the switch to Lightning and didn’t have to implement your rollback plan, then congrats — it’s time for a small celebration.
However, the work isn’t quite over yet!
You may need to set up or configure new features or functionality after Lightning is live. For example, the Lightning Experience comes with a brand spankin’ new Report Builder, meaning teams will need to recreate their dashboards. Likewise, if you installed new third-party apps from AppExchange, they may require an initial setup or activation after going live. The documentation you created in Phase 2 should guide you with this process.
Work with teams to setup and configure new features or functionality before diving into post-migration testing. The goal is to move all the pieces of the live environment into place so you have the full picture when it comes time to test.
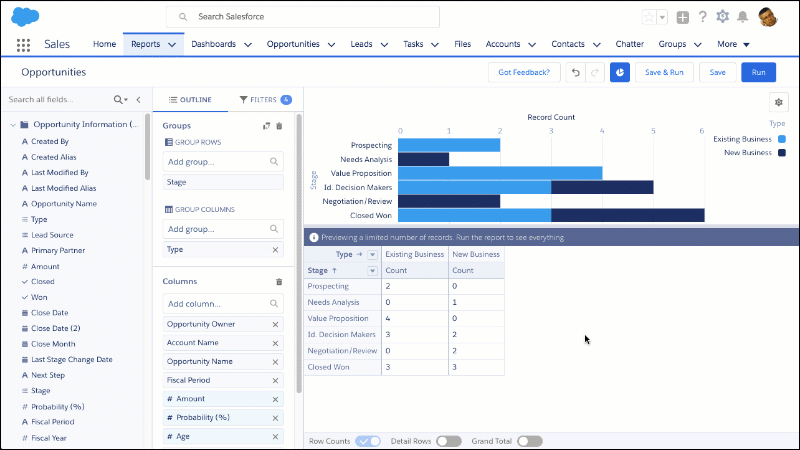
Create new reports in Salesforce Lightning. (Source)
Test and iterate
After setting up and configuring Salesforce Lightning, it’s time to validate that everything is working as expected. This includes testing workflows, processes, configurations, data, performance, and more. Allow teams to conduct their own user acceptance testing by inviting them to dig in and try to break things. It’s important to encourage everyone to adopt a fail-fast mindset during this process. After all — the sooner issues and bugs are discovered, the sooner they can be resolved.
Software testing isn’t exactly everyone’s favorite activity, but that doesn’t mean it can’t be treated as another opportunity to educate. As discussed Phase 1, the best defense against resistance to change is putting power back into people’s hands through learning. By involving teams in the testing process, they not only have the chance to learn the ins and outs of Lightning, but are empowered to give meaningful feedback to influence their work and, ultimately, their productivity.
A phased rollout approach is a process — no two rollouts will be exactly the same. However, each rollout should be more easy and seamless than the one before it. Don’t be afraid to document the entire migration process or hold retrospectives with teams to get their feedback on the experience. This will help you not only adjust the migration strategy, but iron out as many kinks as possible before rolling out Salesforce Lightning to the next group of users.
After the switch
After your first successful migration to Salesforce Lightning, it may feel like most of the hard work is complete. However, the reality is that the hard work has just begun!
When an organization undergoes change, it’s often met with resistance, confusion, and frustration — software migrations not excluded. Organizations must improve this experience by implementing processes that allow everyone to succeed. As discussed in Phase 2, an approach to managing change effectively — also known as change management — usually requires lots of planning, training, and communication. When done well, user adoption rates go up and productivity soars, leading to a better return on investment.
But managing change doesn’t stop after the switch is flipped. Actually, it doesn’t really stop at all. The true test of successful migration isn’t if it fails, but what happens after. As you roll out Lightning across your organization, you need to plan for optimization and maintenance.
Optimize the experience
Optimization is the process of making something as fully perfect, functional, or effective as possible. While perfection isn’t the end goal, you do want to continue to improve Salesforce Lightning so it reaches a state where everyone using it is as productive and satisfied as they can possibly be.

Track usage in Salesforce to understand user behavior. (Image Source)
To optimize the Lightning Experience, we recommend:
Interviewing users. Sit down with individuals and teams and ask them what they’re struggling with. Is Lightning meeting their expectations? Is it slowing them down or speeding them up? Are they still having difficulty with completing task X? What do they like the most? What do they like the least? When you talk directly to those using Lightning, you can better understand their needs and use this to drive changes to features, functionality, and more.
Tracking usage. On the other side of gathering user feedback is observing user behavior. While someone may tell one story, their data could tell a completely different version — don’t be afraid to investigate if something isn’t adding up! Make sure analytics in Salesforce are activated right after migration so you can start monitoring usage from day one. Likewise, if you’re curious just how well teams are adjusting to Lightning, try the Lightning Adoption Tracker app via AppExchange.
Evaluating metrics. Whether your organization is data-driven or data-informed, one thing is for sure: data is powerful. It reveals insights that can be used to inform strategy and improve UX. For example, it may be useful to evaluate metrics by user type to determine if assumptions about roles and personas are correct. This allows you to carefully refine the migration strategy for future rollouts. Likewise, it may be useful to evaluate which features are utilized the most by role or persona in order to improve workflows or processes in Lightning. This allows you to make adjustments to features or functionality without sacrificing productivity.
Sustain the change
The process of managing change is ongoing — it will not have an end date on the roadmap. Consider it in maintenance mode indefinitely or until the next Salesforce migration occurs.

Schedule regular check-ins with teams to review progress and goals. (Image Source)
To ensure everyone in your organization is set up for continued success with the Lightning Experience, we recommend:
Measuring goals and progress. During Phase 2, teams were asked to identify SMART — specific, measurable, achievable, relevant, and timely — goals. To keep everyone accountable for their progress, schedule regular meetings to review and evaluate goals individually and as a team. If a goal isn’t working out, then reassess and either remove it or create a new one. And don’t forget to recognize when someone achieves a goal — although it may seem like overkill, rewarding individuals for successfully adopting new behaviors makes a difference.
Scheduling regular check-ins. On the same note, schedule regular check-ins with individuals or teams to give them a reoccurring space to voice concerns, feedback, or issues related to Salesforce. You want to open communication channels early in the rollout process and then keep them open. Likewise, continue to be proactive in your communication — use this time to share any news, updates, or information.
Refining support and training materials. No one likes reading through a set of instructions then realizing step 26 doesn’t work! Keep your support and training materials up-to-date, especially as you make changes to features and functionality in Lightning. As new teams or departments are added to your organization, consider how these materials might need to be updated as well.
Keeping the roadmap updated. After each rollout, update the roadmap to reflect changes to scope and schedule. It should serve as a living document, constantly being edited and updated with the latest priorities. Once your entire organization has migrated to Lightning, it does not require the same type of upkeep. However, it’s still useful to communicate planned upgrades or scheduled maintenance. This is useful if your goal is to continue to communicate change, even well beyond the migration date.
Migration: Mission Complete ✓
You did it! See, migrating to Salesforce Lightning doesn’t have to be a painful experience — with the right approach to research, planning, and testing, you can successfully and seamlessly transition from Classic to Lightning. It just takes some extra steps (or two or three) to ensure change is managed effectively so that everyone in your organization is set up for success — before, during, and after migration.
If your organization is still on the fence about migrating to Lightning or if all of this just sounds crazy complicated, not to worry! Galvin’s team of certificated Salesforce consultants can help you through every phase of the transition from Salesforce Classic to Salesforce Lightning:
- Phase 1: Evaluate
- Phase 2: Prepare
- Phase 3: Migrate (this article)
Give us a call today at 317-297-2910 or shoot us an email at letstalk@galvintech.com to learn more. We look forward to hearing from you!
Also published on Medium.
— Related Articles —
Related Posts


— Also on Galvin Tech —


Also published on Medium.