“Stealth Features” – Salesforce1 Branding
Introduction – As seasoned Salesforce administrators we spend a considerable amount of time reviewing the latest release notes, evaluating new features, testing configurations, etc. The Spring ’14 release contained a […]

Introduction –
As seasoned Salesforce administrators we spend a considerable amount of time reviewing the latest release notes, evaluating new features, testing configurations, etc. The Spring ’14 release contained a lot of exciting features. We’ve blogged about some of the more significant features (i.e. Repeated Tasks, Salesforce1 Leads, Chatter Announcements) in the weeks leading up to the official release.
From time to time we uncover smaller features that while not business critical can still create excitement among your users. In almost all instances these features do not require extensive testing, development in a sandbox, or deployment via a change set. In fact, even the most novice of admins can roll out these features in just a few minutes. We call these “Stealth Features”.
Branding –
We all know that logos, colors, and other branding assets are very important to your business. Although it is hard to directly associate changes in sales, customer loyalty, etc. with a logo; there is value in maintaining a consistent brand. As a Salesforce administrator you have the power to ‘brand’ your Salesforce1 mobile app! You can define the following elements:
- Brand Color – The color for key user interface elements.
- Loading Page Color – The background color of the loading page.
- Loading Page Logo – The image that is used on the landing page.
- Publisher Icon – The image that is used for the publishing icon.
Configuration –
Making these changes is very simple. Here is a step by step guide.
- Log in to Salesforce.
- Navigate to the administrator panel.
- Expand the ‘Mobile Administration’ menu.
- Expand the ‘Salesforce1’ menu.
- Click on ‘Branding’.
- Click the ‘Edit’ button.
- Make the desired branding changes.
- Click the ‘Save’ button.
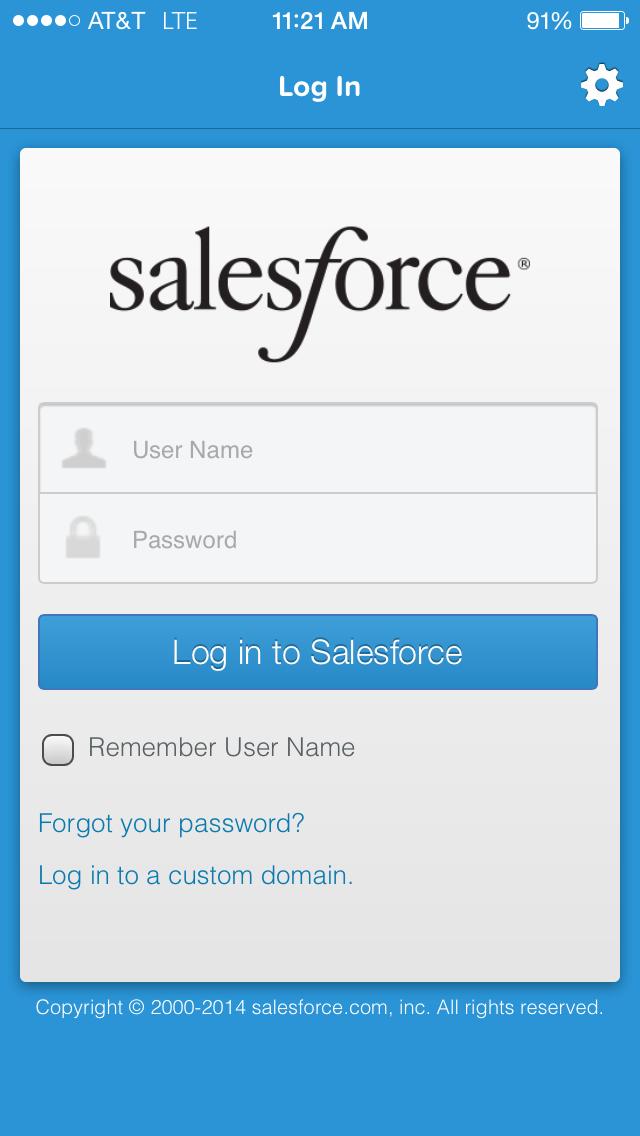
Salesforce1 Before “Branding” –
Salesforce1 After “Branding” –
For additional help on making these branding changes, please reference the official Salesforce Help guide shown below.
https://help.salesforce.com/apex/HTViewHelpDoc?id=customize_sf1_branding.htm&language=en_US